
Mothernode makes it easy to track and report work center labor hours across your organization. You can report labor by department, individual team member, or order, giving you flexible insight into operational efficiency and workforce allocation. These reports can be viewed on-screen or exported for use in QuickBooks, simplifying your payroll and job costing workflows.
Reporting and Exporting Work Center Time
- Log in to Mothernode
- Click on the Production Menu
- Select Job Board from the Menu
- Click Scheduling
- Click Time Log
From this screen, you can filter by period and export your data to QuickBooks Desktop or QuickBooks Online.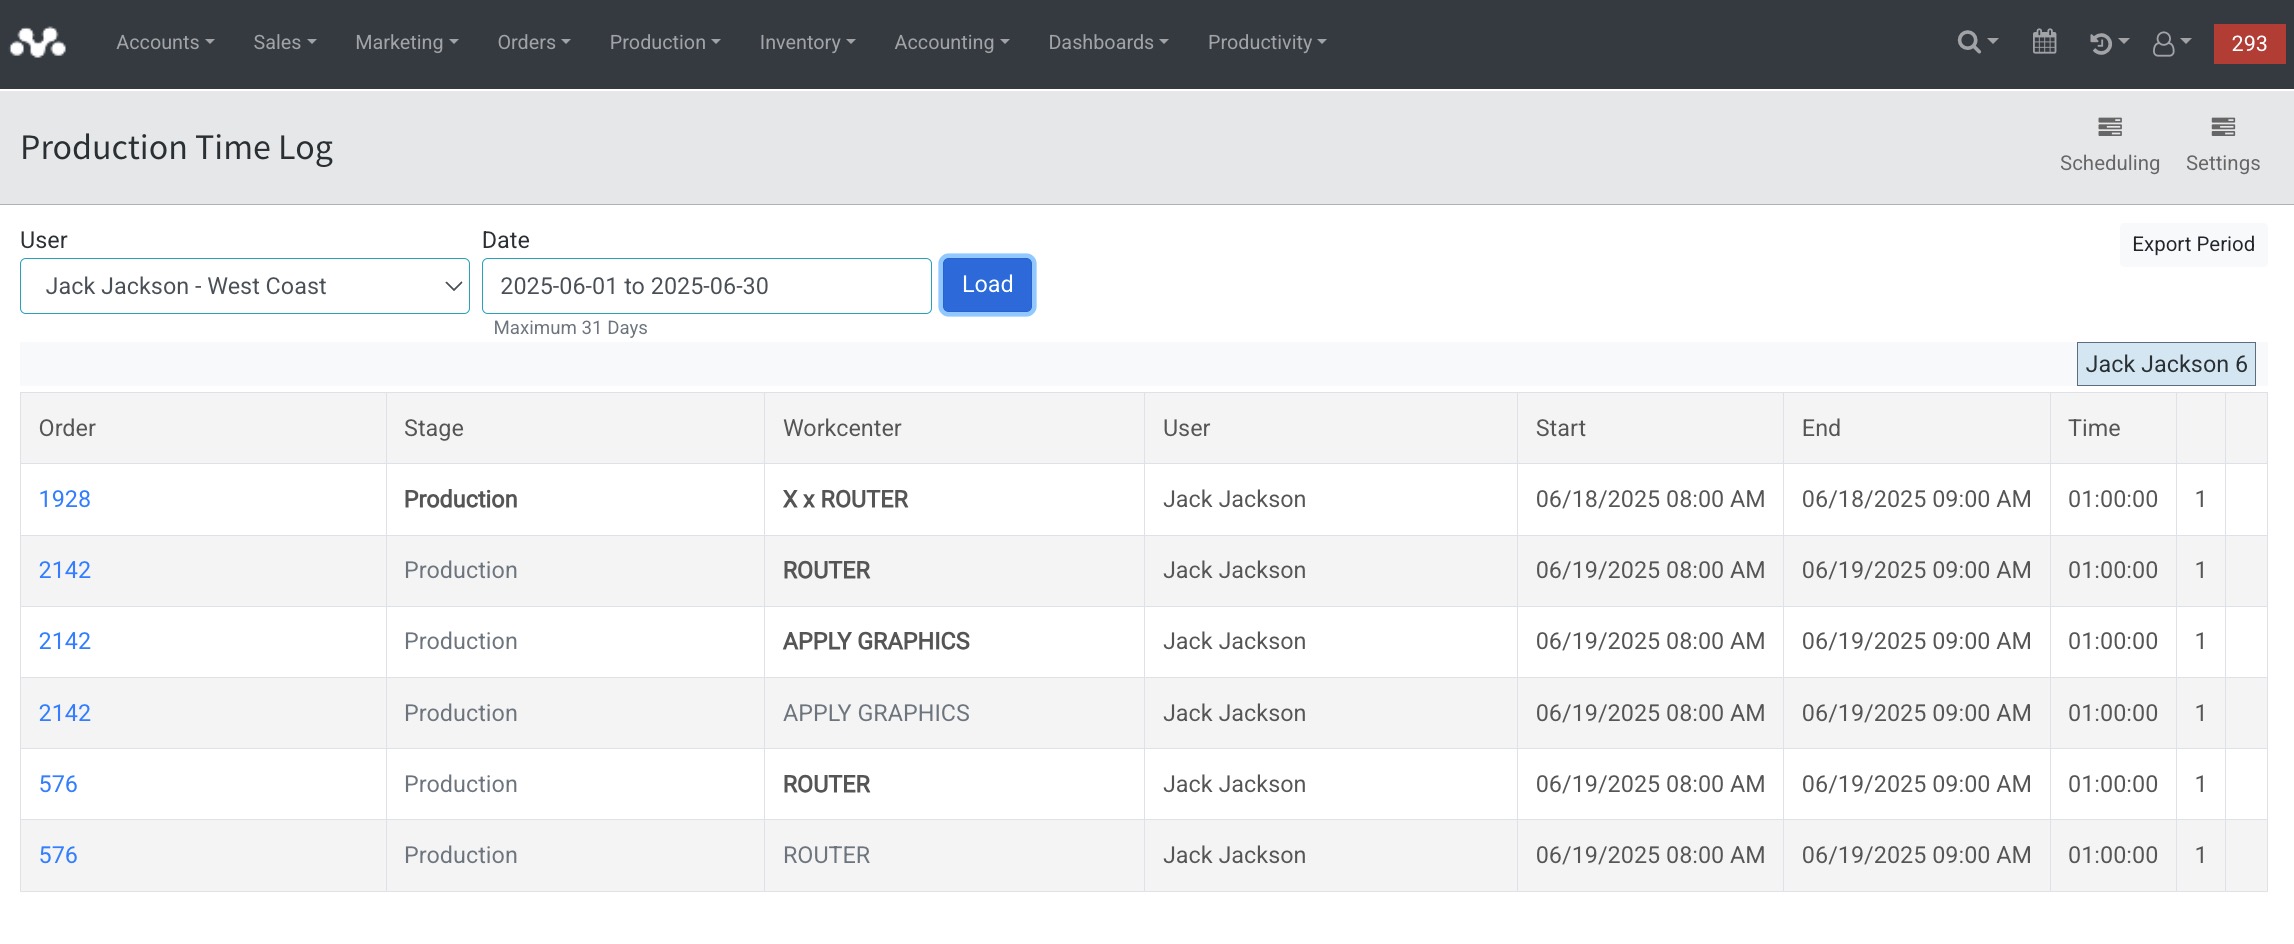
How to Import Labor Hours into QuickBooks
Depending on whether you’re using QuickBooks Desktop or QuickBooks Online, follow the relevant instructions below to import labor hours from Mothernode.
QuickBooks Desktop
-
Export Labor Hours from Mothernode
-
Go to the Work Center Labor Report in Mothernode.
-
Select your desired date range and filters.
-
Click Export to download the labor data in CSV format.
-
-
Prepare Your CSV File
-
Ensure the file includes the following columns: Employee Name, Date, Hours Worked, Service Item, and Customer/Job (if applicable).
-
Format the data according to QuickBooks Desktop’s time tracking import requirements.
-
-
Import into QuickBooks Desktop
-
In QuickBooks, go to File > Utilities > Import > Excel Files.
-
Choose Advanced Import and select Time Tracking as the data type.
-
Map the CSV columns to the correct QuickBooks fields.
-
Complete the import and verify that the data has been added correctly.
-
QuickBooks Online
QuickBooks Online does not support direct time tracking imports. You’ll need to use a third-party app:
-
Export Labor Hours from Mothernode
-
Follow the same steps as above to generate and download the CSV file.
-
-
Use a Third-Party Import Tool
-
Recommended tools include SaasAnt Transactions or Transaction Pro.
-
Upload your CSV file into the tool.
-
Map the data fields according to QuickBooks Online’s format.
-
-
Import into QuickBooks Online
-
Review your mapping and preview the import.
-
Complete the process, then confirm that the time entries appear correctly in the Time or Projects module.
-
