
When working with transactions, such as quotes, orders, and purchase orders, Mothernode offers a variety of ways to add your goods and services to line items. It’s one of the few CRMs that has a built-in Inventory Management module, that’s available in Mothernode’s premium CRM plans. Mothernode customers can stock and track physical inventory or use the inventory module as a placeholder to store virtual inventory (non-stock items).
Advantages of using Inventory
There are a few key advantages to using inventory that will expedite your pricing and fulfillment workflow.
- You can create bundles that allow you to simultaneously add multiple items commonly sold together
- Inventory items can have multiple pricing tiers for different types of customers. This is automatically triggered by the customer’s pricing level
- You can set up your inventory with related categories to quickly add commonly sold items (or upsells) on the fly
- You can easily update pricing in Excel and re-import
- You can assign inventory items to customers
- You can assign inventory items to vendors
- You can easily create purchase orders for one or more inventory items, directly from the inventory module
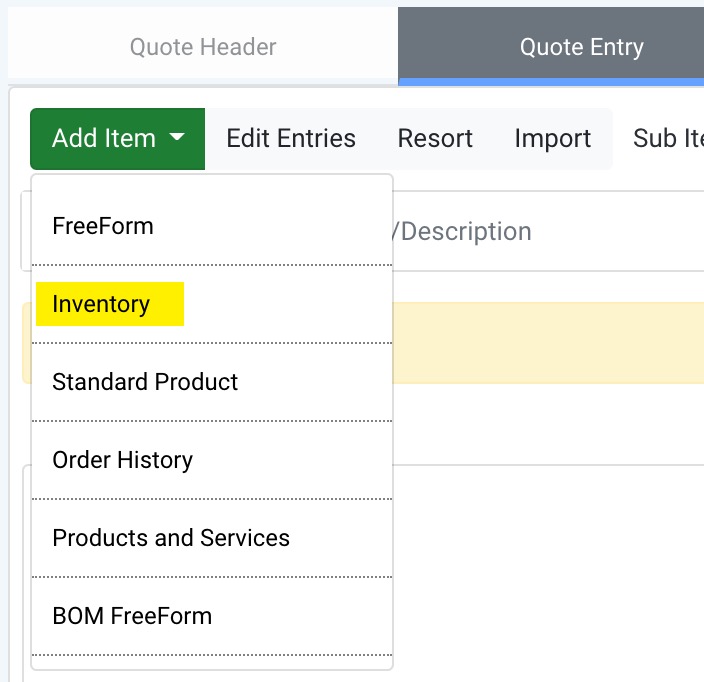
Adding Inventory
When using a Mothernode CRM edition that includes Inventory, you can add your Inventory Line Items to Quotes, Orders, Work Orders and Purchase Orders. This is done in each of the modules’ respective Entry Tabs (Quote Entry, Order Entry, etc.)
1. In the transaction you are working on go to the Entry Tab
2. Click the Add Item button and then from the list, click Add Inventory
3. In the Add Inventory Window, search for the inventory item you want to add.
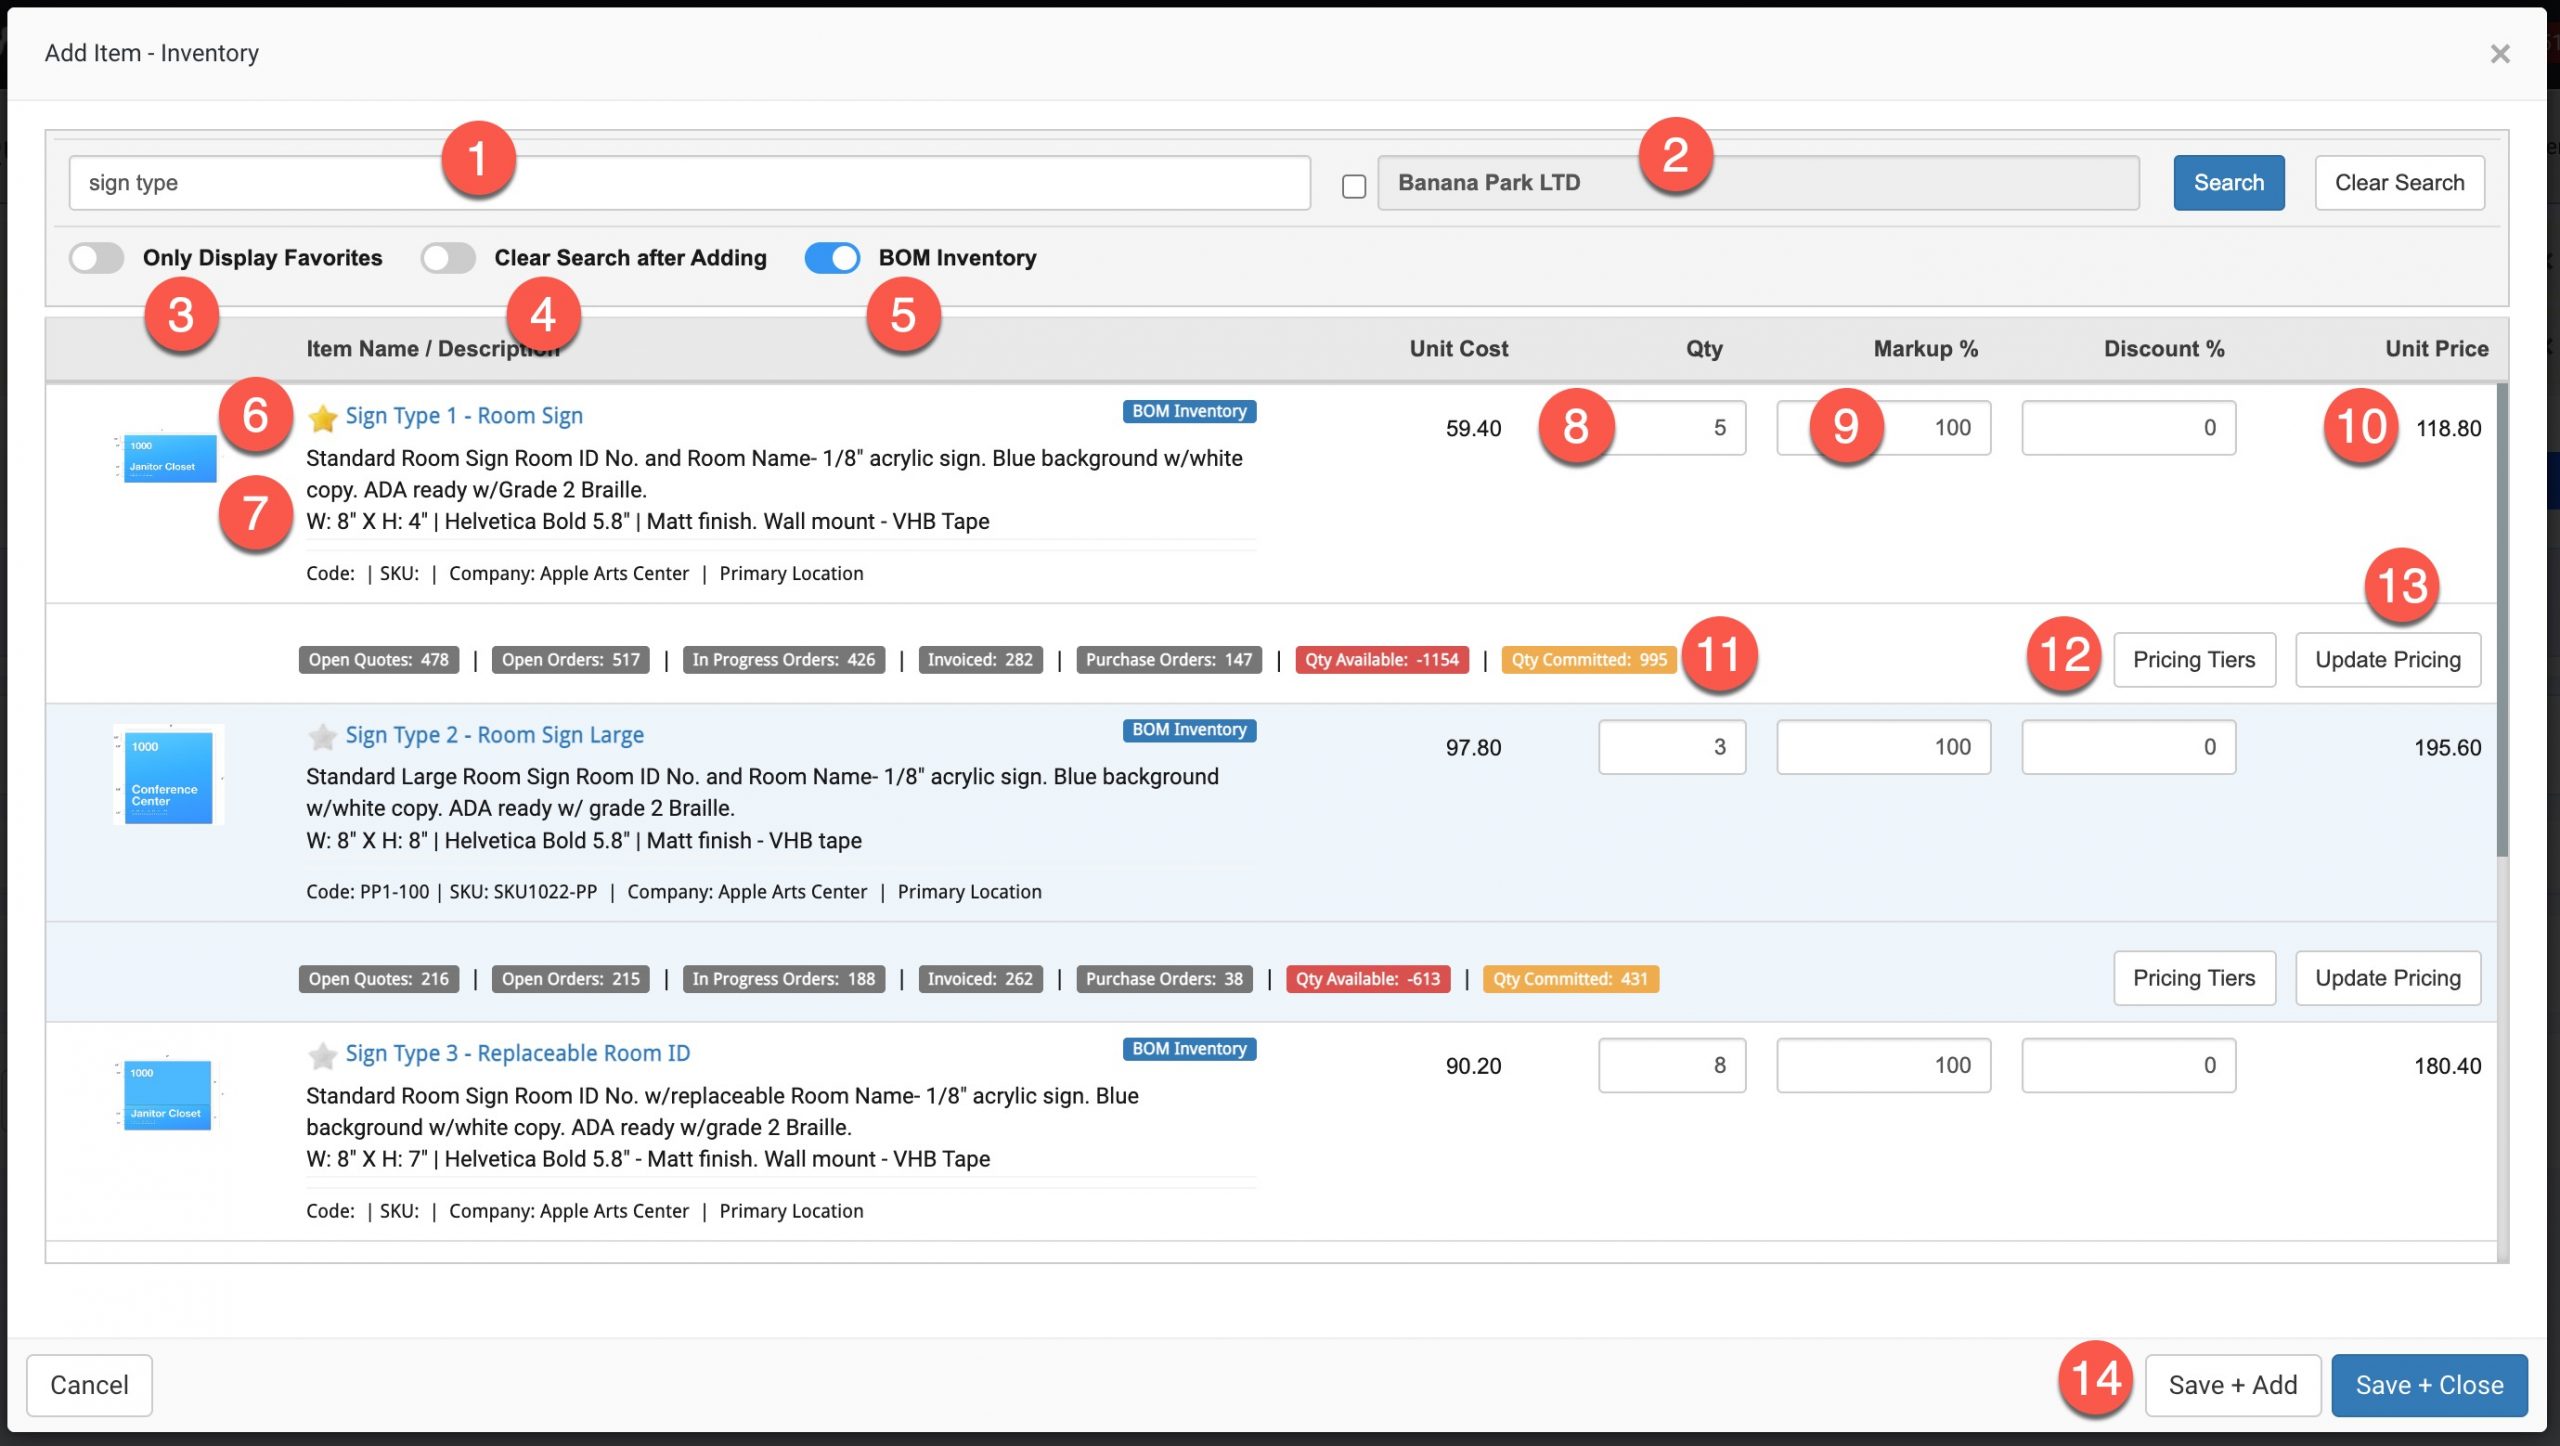
- Type the name of the inventory item you are wanting to search for and add.
- When searching for a customer’s specific inventory, check the box next to the customer’s name to limit the search results to add inventory assigned to the customer indicated in the transaction.
- Toggle Display Favorites to only display inventory items tagged as favorites with a star next to the name.
- Automatically clear your search results after adding your item(s).
- Only filter on finished goods that have BOM items.
- Click the star icon to make the item in the list favorite to help refine future searches.
- This is the name of the product and sales description.
- Determine the quantity of the items you would like to add. You can add quantities to multiple items on this screen to add them at the same time.
- The default markup is displayed. You can adjust it in this field. It will only be adjusted for this transaction.
- The calculated unite sales price (Cost + Markup)
- Stock level indicators
- When alternative pricing tiers have been assigned to the transaction pricing tiers will be revealed when clicking the pricing tiers button.
- Clicking update pricing will recalculate pricing formulas on screen.
- Save and Add will say your new items to the record and refresh the add inventory window so you can search and add more. Save and Close will close the window.
4. Add the quantity of the inventory item you would like to add and then click Save + Close to complete the process or Save + Add to add another inventory item
Tutorial: Inventory-related videos.
For a more comprehensive review on how to add and use Inventory in your Mothernode CRM transactions, watch this tutorial.
