
To enable the UPS shipping integration, please ensure that you have a My UPS user profile with an active UPS shipping account associated with it. The XML Access Key is also supplied by UPS and must be requested by logging into your My UPS user account. For more information, visit www.ups.com
The integration works with all Zebra/Eltron shipping label printers
Mothernode Setup:
- (Admins Only) Enable UPS Shipping within Mothernode by navigating to Administration and selecting the API Connections option.
- From the API Connection page, select the Shipping tab, and click the Enable UPS Shipping Populate the fields outlined below to complete the setup.
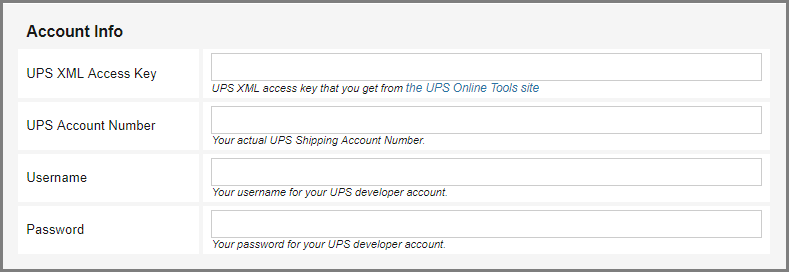
Account Info
These fields are used to connect Mothernode to your UPS shipping account.
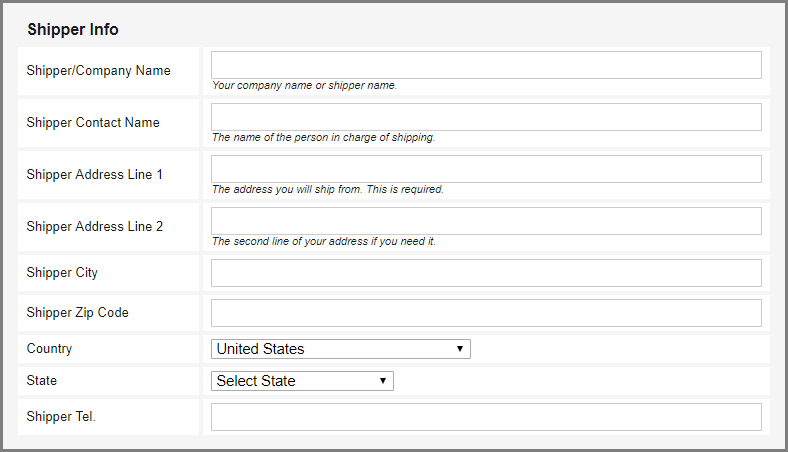
Shipper Info
These fields are for your personal shipping details (i.e. where you ship from).
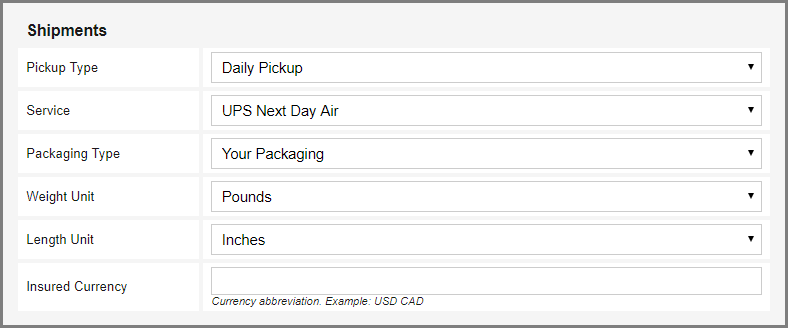
Shipments
These fields control your default shipment specifications.
Labels
These fields control the label printing settings. The RocketShipIt software can be downloaded by clicking the Download for Mac, or Download for Windows link.
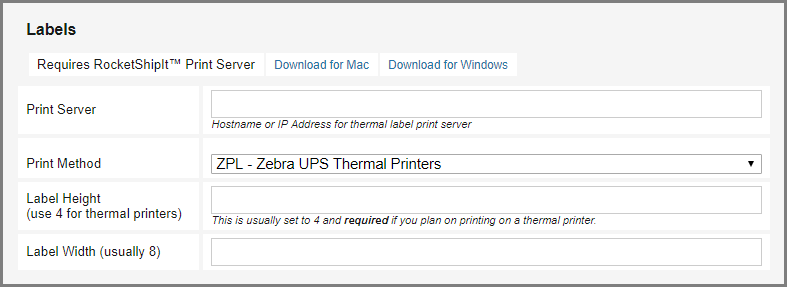
Print Server:
Thermal Printers Only
When printing is done directly from the computer in use, the print server should be set to: localhost:8080
When printing to another computer on your network, you must use the unique IP address assigned to that machine. Your network administrator will be able to supply you with this information if you are unsure.
RocketShip.it – Print Server Setup:
The installation file for the RocketShip.it print server is provided by Mothernode.
- Place RocketShip.it .exe file into your Windows Startup folder
- Run the executable to start the RocketShip.it print server
- Once running, your browser should automatically open to http://localhost:8080/ and you should now see the RocketShip.it logo. If your browser does not open automatically, open your browser manually and enter the URL above to see if you see the RocketShip.it logo. This will confirm if the print server is running.
- From the RocketShip.it page, click the Menu option to set your label printer
- Now your RocketShip.it print server has been set up and is ready to for use
