Custom fields can be created and applied to all Mothernode modules. Once created, these fields can be used to run advanced searches and can be included in custom reports. Custom fields can be created by Administrators only.
IMPORTANT: Before creating custom fields be sure to check if the field already exists or if an existing field has been assigned for similar use. Users should determine the importance of the field before creating custom fields and try to avoid custom field pollution.
Field Name and Type
When setting custom fields use these fields to determine the purpose and type of field.
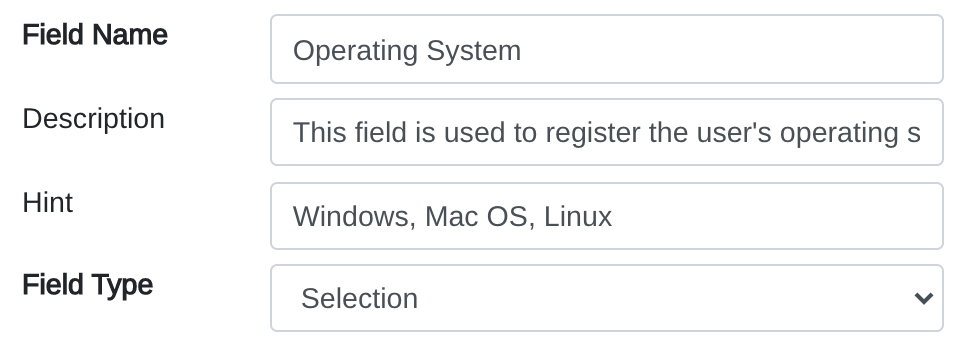
Field Label – Used to specify the name for your custom field
Field Description – Internal message to describe the purpose and use of the field.
Hint – Displays a hint message in the User’s UI when they hover their mouse over the hint icon
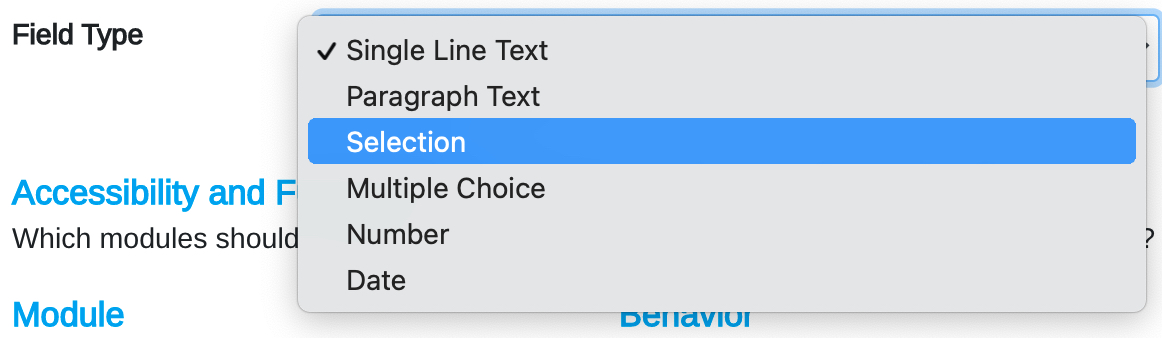
Type – The field type selected will determine how your field appears in Mothernode. Field type options include: Single Line Text, Paragraph Text, Selection (dropdown), Multiple Choice, Number, and Date
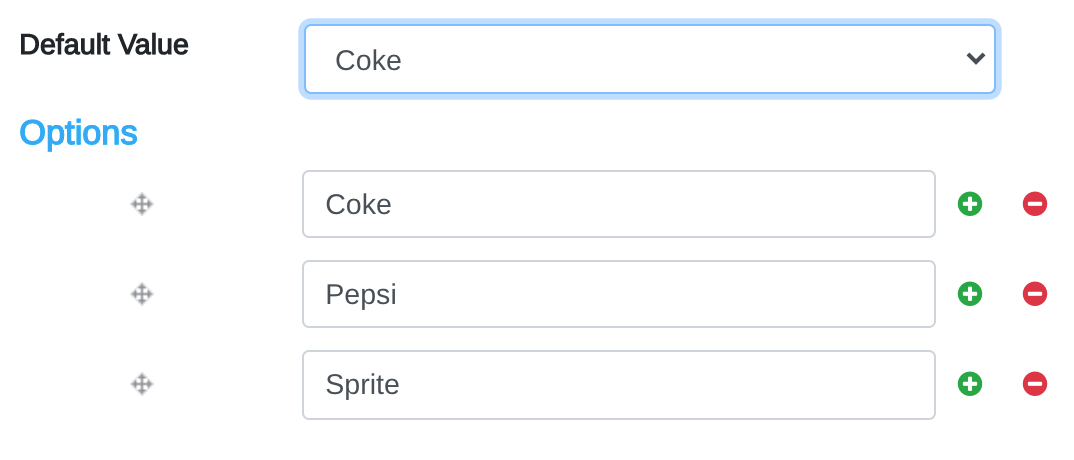
Mothernode custom fields let you set a default field value to be used upon the creation of new records when a value doesn’t already exist. When using an input field you can predefine the text. When using selections or choice lists, you can predefine the choice.
Field Properties
When setting fields in Mothernode CRM there are a variety of different properties that can be assigned to them that can provide different behavior or functions. Use the toggles located at the right of the field to activate or deactivate a function. 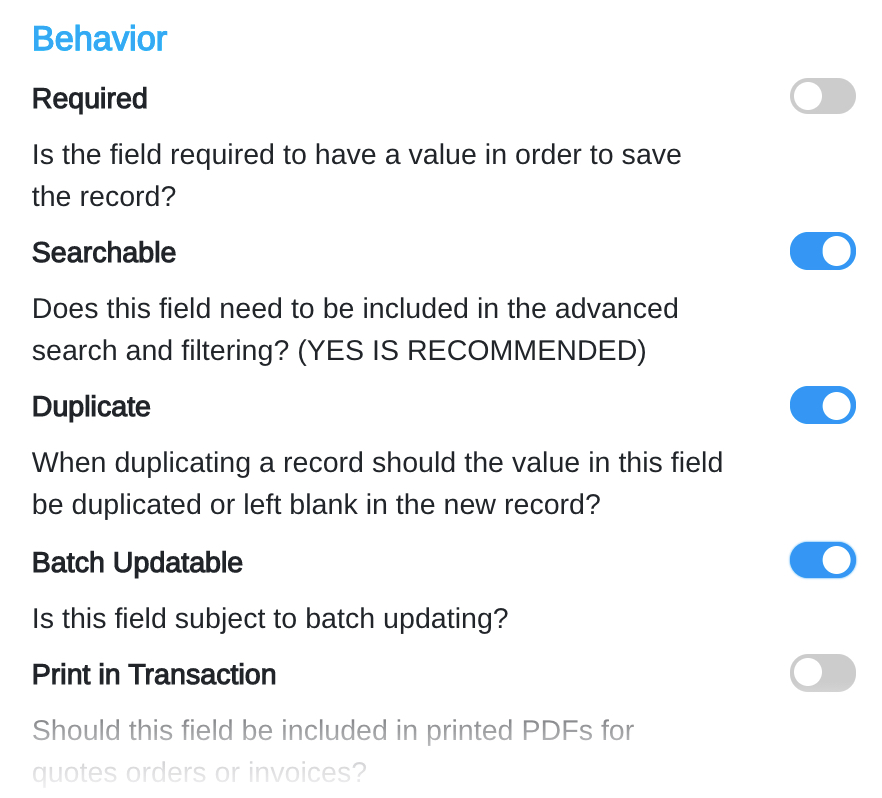
Required – Selecting Yes means the custom field must be completed before the record can be saved. If No is selected, the record can be saved without the custom field being completed.
Print in Transaction – Selecting Yes will allow the custom field value to display within the transactions related to the module the custom field is placed in. Selecting No will keep the custom field value from displaying in transactions.
Searchable – Selecting Yes will place your custom field within the Advanced Search area, allowing users to run searches on the custom field. Selecting No will keep the custom field from displaying in the Advanced Search area.
Batch Updatable – Selecting Yes will allow your custom fields to be available for batch updating. Selecting No will make your custom field unavailable for batch updates.
Duplicate – Selecting Yes will allow the field values from the duplicated record to carry over to the new record. Selecting No will keep the field values from carrying over to the new record.
Carry Value – When a custom field is placed in multiple modules, the carry value field can be enabled by selecting Yes. This will allow the fiend value to carry over to the next record. For example, when an Opportunity record is converted into a Customer record, if the custom field exists in both modules, the carry value option will allow the values entered into the Opp record to carry over to the Customer record. Selecting No will turn this function off and the value will not be carried over.
Mail Merge – Selecting Yes will allow your custom field to be available as a merge field within Marketing templates. Selecting No will not allow your custom field to be available as a merge field.
Modules – Each module is displayed here, along with checkboxes that correspond with each. Place a checkmark in the boxes next to the corresponding module where you want your custom field to appear.
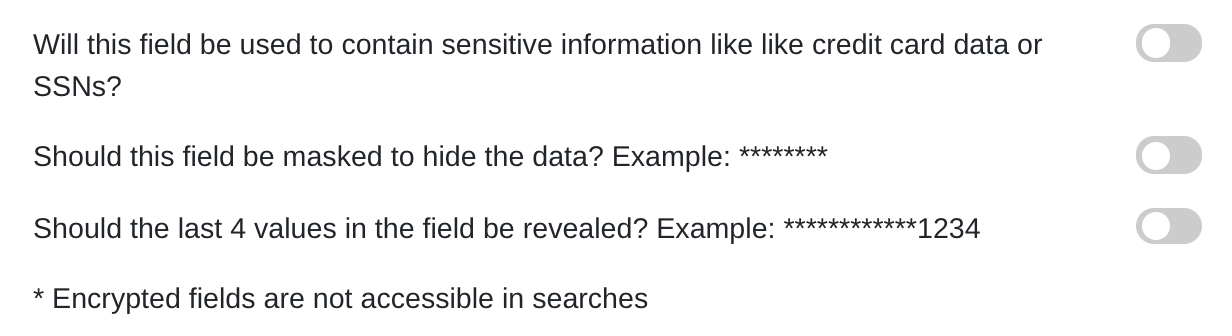
Mothernode provides users with the ability to apply more additional security to custom fields.