
Over time, Mothernode customers may want to make updates to their inventory items such as material cost, components, or finished goods. You can make changes to your inventory items in the inventory record itself. Once the changes are saved all inventory items added to transactions from that point forward will inherit the new pricing along with any other changes you’ve made to the record(s). Historical inventory pricing is preserved in all previously created transactions.
The Impact of Updating Inventory
While updating pricing is a necessity from time to time it’s important to understand where some of these changes can have an impact when using Mothernode. These are the processes and modules that will be affected.
- Bundles. Any bundled pricing that is built off component pricing will have an effect on the overall price. Conversely, if you have bundles where the price has been manually set, then you should inspect your pricing to make sure any price increases are taken into consideration.
- Product Calculator Pricing. Mothernode’s pricing calculator is dependent on inventory components. Adjustments made to inventory components will have an impact on the pricing generated by the product calculator.
- BOM. Inventory items that use bill of materials to make up their extended pricing will be impacted.
- Transactions. Adding inventory to transactions will reflect new changes to transactions going forward. Be mindful of pricing agreements you may have with customers on specific items.
Updating Multiple Records
There are some instances where updating multiple records within Mothernode, one record at a time, can be counterproductive. Therefore, users have the ability to make mass adjustments to multiple inventory items by simply exporting their inventory, modifying the data in Microsoft Excel or Google Sheets, and then reimporting the data back into Mothernode CRM.
When wanting to update multiple inventory items follow these directions.
EXPORTING YOUR INVENTORY ITEMS
- Access your Inventory module in Mothernode CRM.
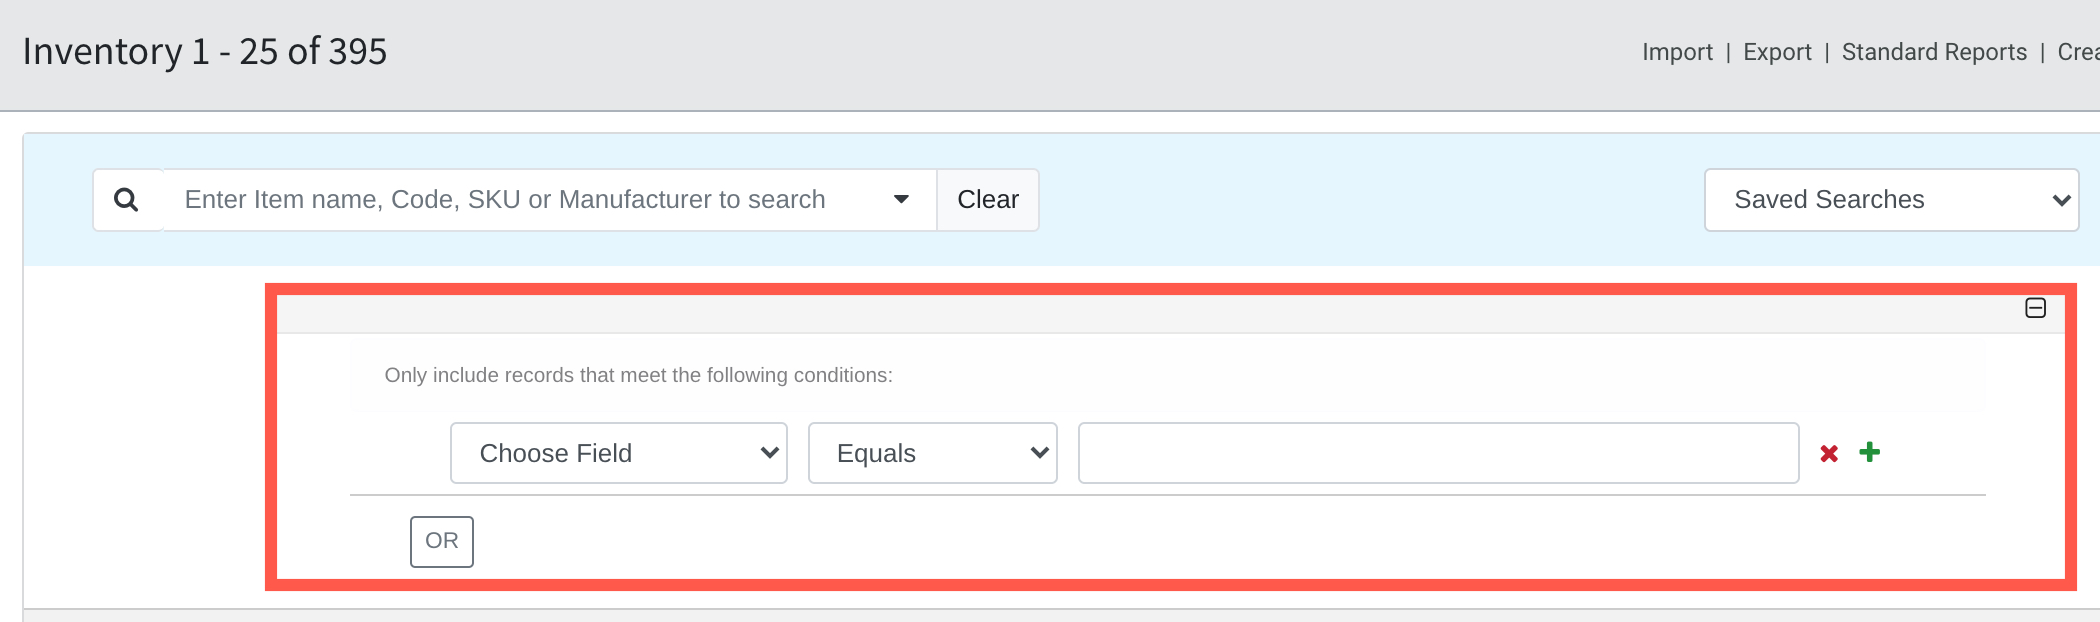
- In the inventory list, make sure you are showing all records. Clear any filters you may have before you export to make sure you are exporting all your records.
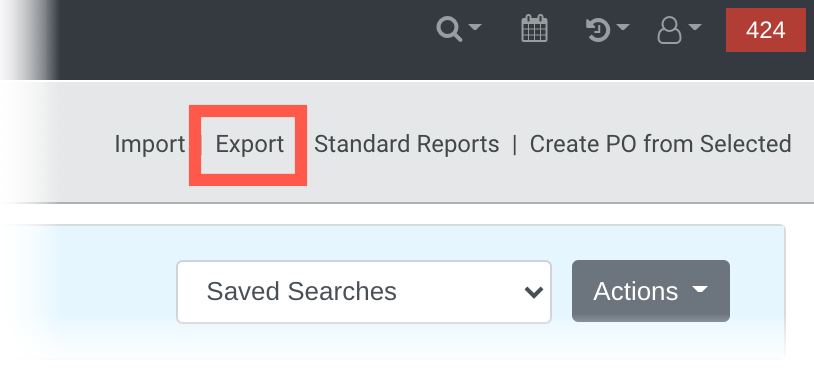
- Click the EXPORT option in the actions menu at the top of the list. Mothernode will export your inventory records to an XLS file. Mothernode will append the current date to the name of the file (ie. inventory_10202021.xls) and will download the file to your browser’s designated download folder.
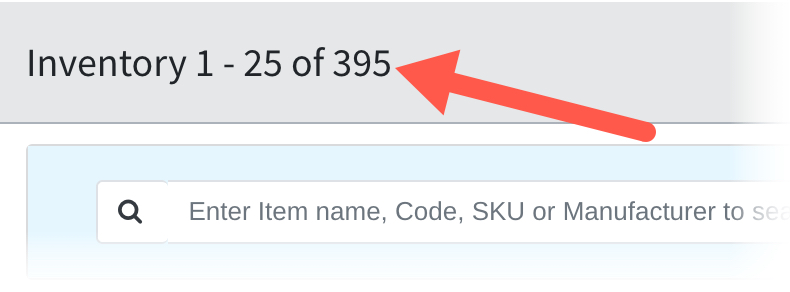
- Once the XLS file has been downloaded, open it and cross-reference the number of rows of data with the number of inventory records displayed on screen in Mothernode.
IMPORTANT: Keep an unchanged copy of your inventory export for archive purposes. You will need this in the event that you need to restore your inventory records as they were before any changes were made.
UPDATING YOUR INVENTORY ITEMS
Before importing inventory back into Mothernode make all of your updates to the XLS file you plan on importing. Whatever changes you make to the inventory records in Excel will be reflected in your Mothernode Inventory once imported. This process cannot be reversed. For a more comprehensive overview of importing data into Mothernode, click here.
- Access your Inventory module in Mothernode CRM.
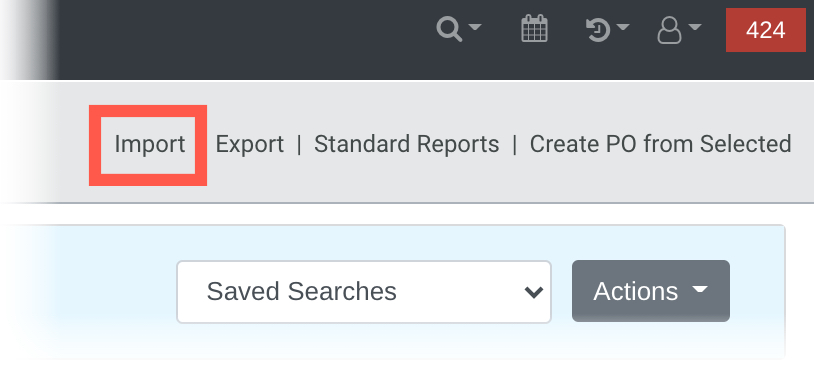
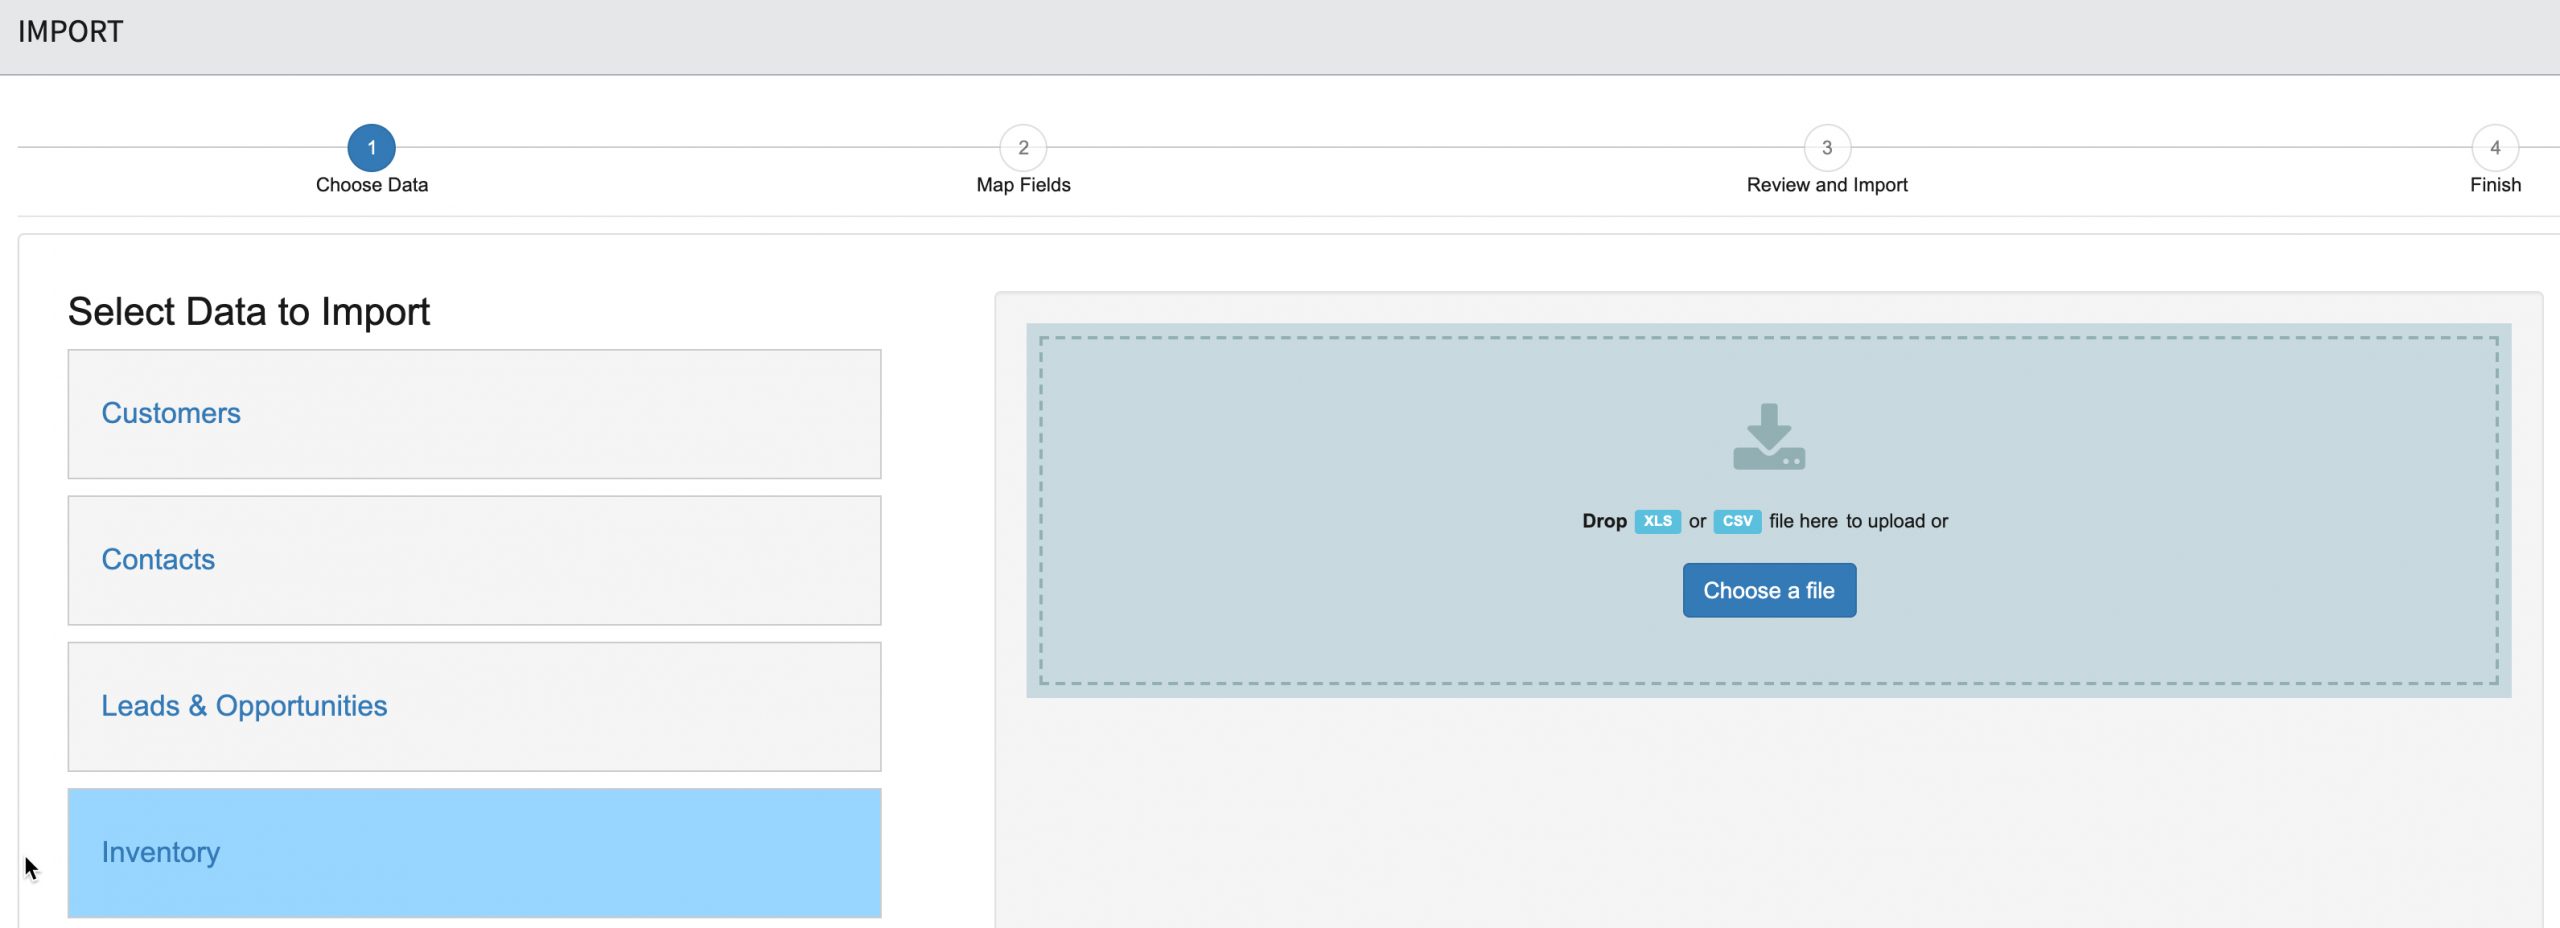
- Click the IMPORT option in the actions menu.
- When importing records from the Inventory Module, the Inventory Data Import option will automatically be selected for you. Select CHOOSE A FILE from the import screen on the right and select the modified Inventory File you would like to import.
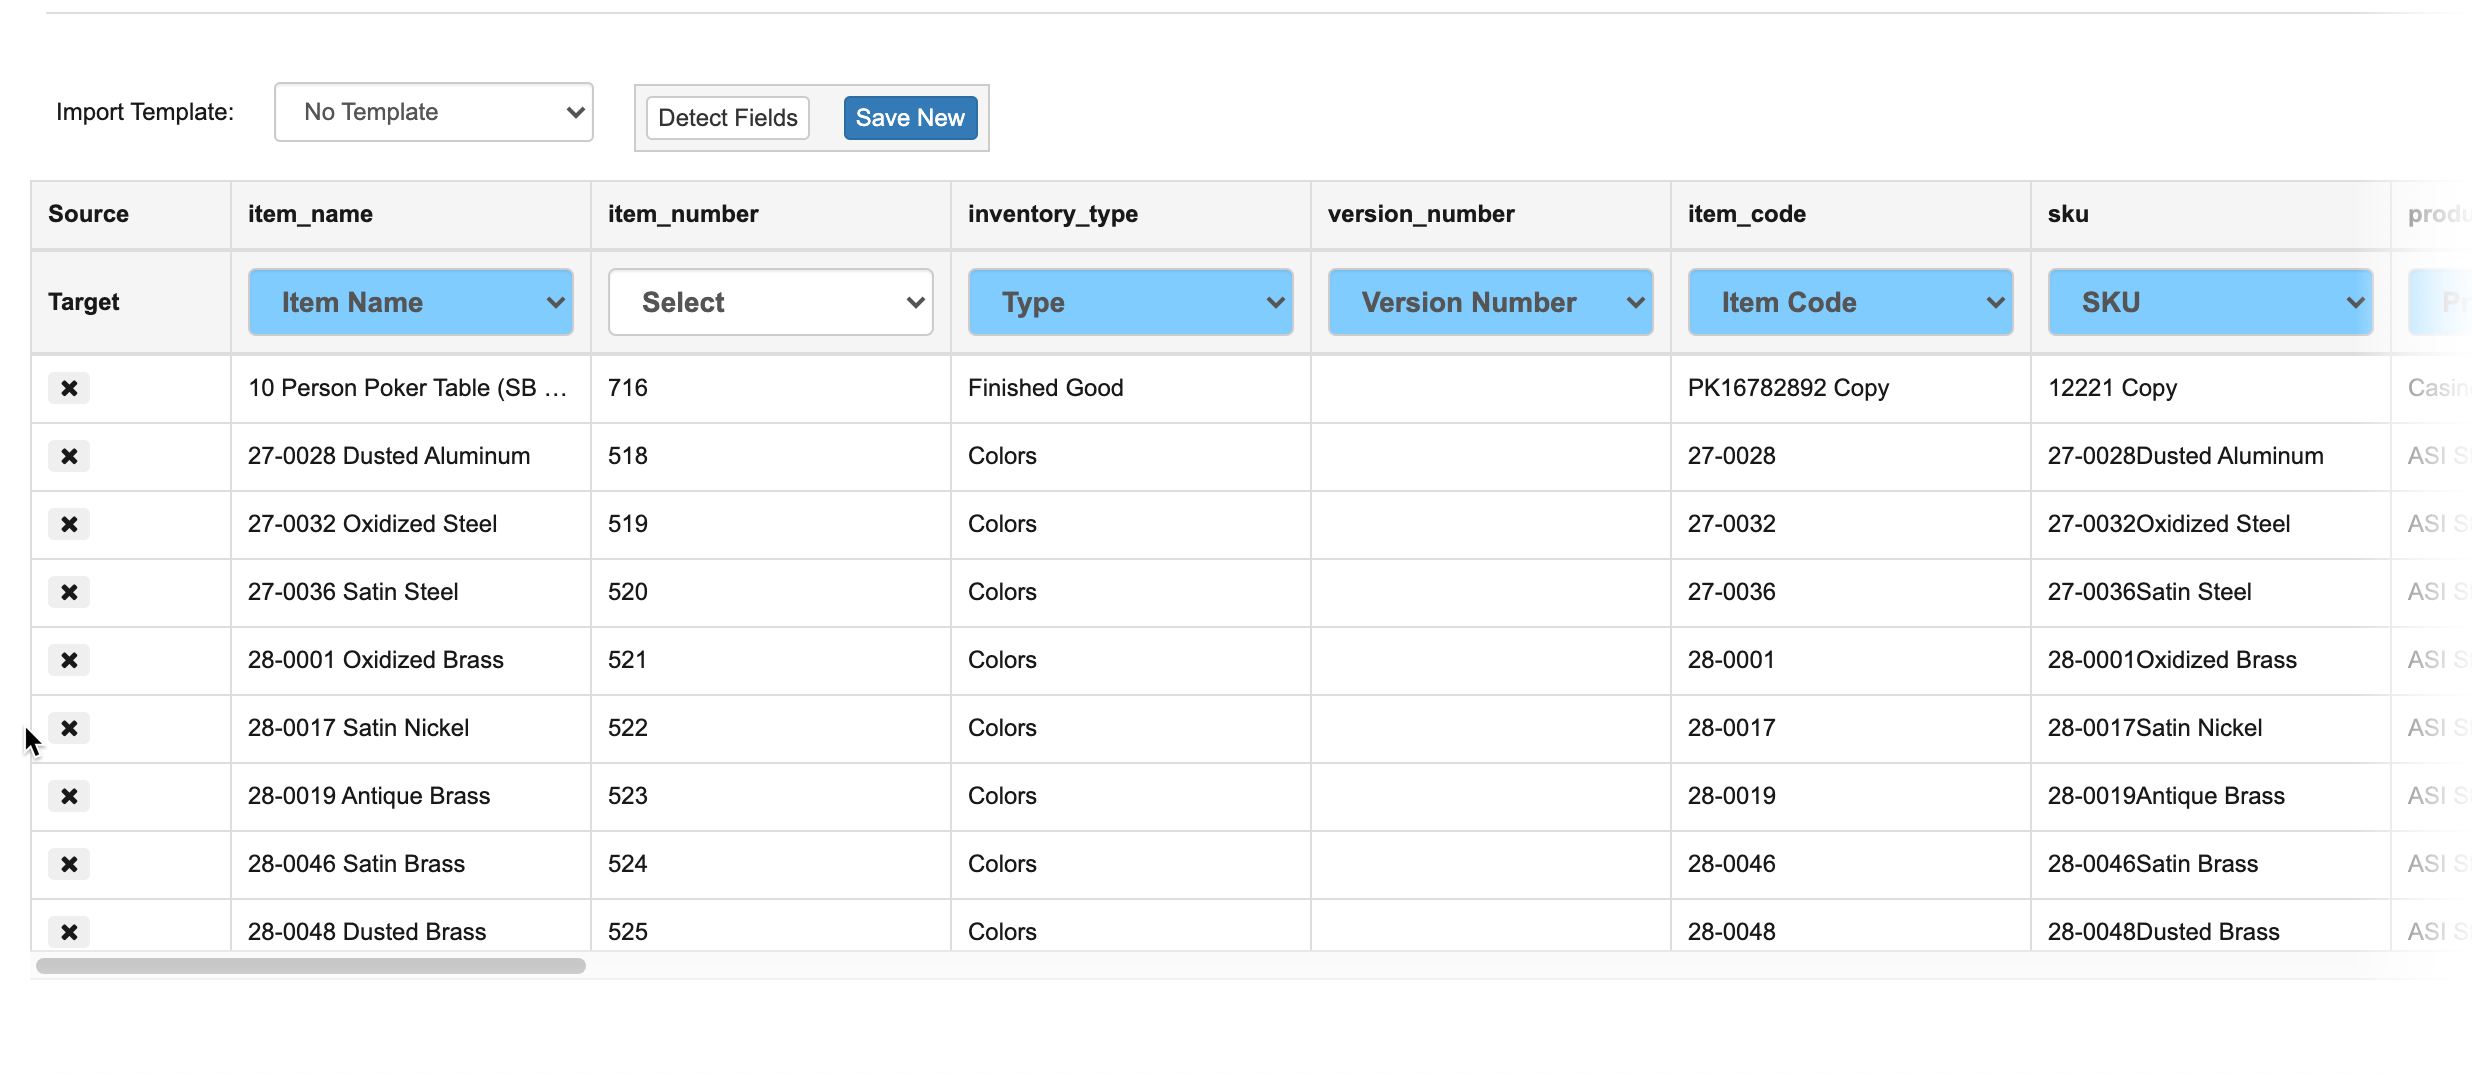
- Once your file has been selected, you will have the option to map your field. Click DETECT FIELDS to automatically map the fields in Mothernode with the column headings in the XLS file. Be sure to double-check all fields are mapped. Note the Item Number should NOT be mapped because this is a sequence number that is automatically generated by Mothernode.
- IMPORTANT STEP: Reference the import option in the bottom right corner of the screen. When ALWAYS ADD NEW is selected, Mothernode will import all items in the Excel file and append them to your current inventory. This means you will double your inventory. If you accidentally select this option and discover you have duplicated your inventory items you can undo this process. Click here to learn how.
 To replace your current inventory with the items in the XLS file you are importing, Mothernode CRM can match up the items in the list by Item Code, SKU, or Item Name. Regardless of which field you choose, these criteria must be the same in both Mothernode and the file you are importing records from in order for them to update correctly.
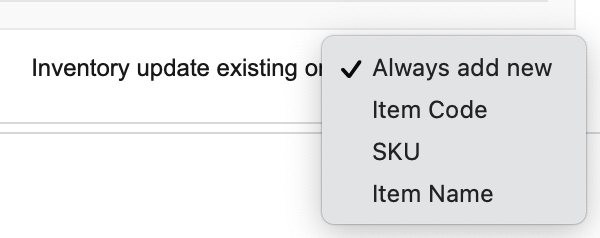 Once your criteria is selected, click REVIEW AND IMPORT
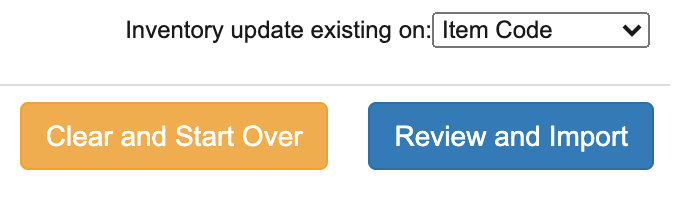
- Follow the remaining steps of the import process. You can always click CLEAR AND START OVER at any time.
CONFIRMING YOUR UPDATE
Once your import is complete be sure to check the import results to make sure your items have been updated accordingly.
- Check the record count in your inventory module. It should be identical to the count prior to updating your inventory. Be sure to clear any saved searches to view all records.
- Be sure to spot-check records and confirm the updates are visible and correct.
