This is the fourth in a series of articles dedicated to the creation and implementation of Lead Capture Forms in Mothernode CRM. The following links enable you to access all articles in this series:
- Lead Capture Forms – Introduction
- Lead Capture Forms – Settings
- Lead Capture Forms – Styling
- Lead Capture Forms – Fields
- Lead Capture Forms – Confirmation Options
- Lead Capture Forms – Mailchimp Lists
- Lead Capture Forms – Mothernode Sequences
- Lead Capture Forms – Form Code

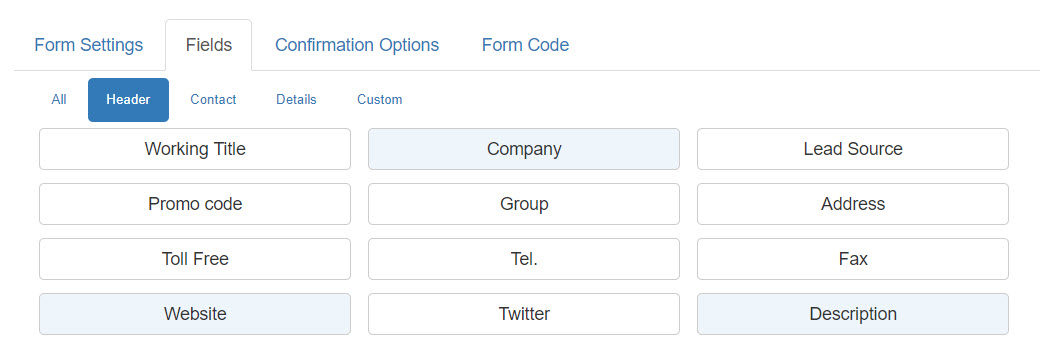
Field selection begins by clicking the Fields tab. Click field names and the added form fields will appear on the right as you are building the form. Field types are categorized (as shown above), or All can be selected to see all available field types on one tab. Shaded field types have been previously selected to the form, while de-selecting a field type will remove it from the form.
Selected fields appear to the right as you build the form, and the fields can then be quickly and easily edited. Simply drag-and-drop fields to modify the order of the fields. A single-click in the shaded area of a field will enable additional options:

Edit Field options appear on the left, enabling modification of the field labels (captions). Required checkboxes allow you to determine and select those fields that the form respondent must complete. Size options control field length either by selecting an option from the dropdown or entering a specific length in pixels.
To exit the Edit Field mode, click the “X” in the upper-right portion of the Edit Field area.

