
During your Mothernode CRM import preparation, if your export or initial data includes contact names that are full names, occupying a single column in Excel, then the contact full names will need to be split into a First Name and Last Name column to properly import into Mothernode CRM. 
Excel provides a data function that can read the data in the cell, separate the data based on space between first name and last name, and place the first name and last name in separate columns. The function is not limited to splitting names but we’ll use that as an example as it applies to a possible scenario that you may run into when preparing your Mothernode import file(s).
Please note that although we are providing an Excel tip to help with the import process as needed, Mothernode CRM does not provide support for Microsoft products. Questions regarding Microsoft product operation, issues and versions should be directed to Microsoft to ensure that those types of concerns can be addressed as expeditiously as possible.
The following is based on Excel 2016 (may be available in older versions):
Prior to using Excel’s Text to Columns function, insert a blank column to the right of the full name column, as Excel will need the additional column due to splitting of the name into two columns. Otherwise, the data in the full name column and the column to the right will be overwritten.
Please note that Excel will create additional columns for name components such as middle names, middle initials, prefixes, etc., so cleanup of names prior to performing the following is recommended:
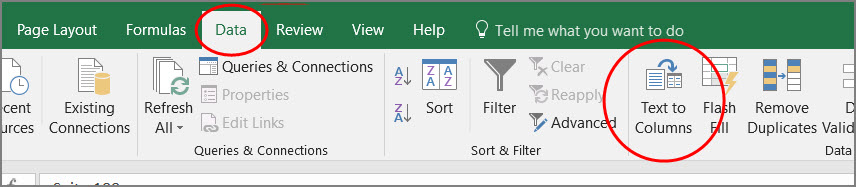
Highlight the entire column that contains the full name and select the Data function, followed by Text to Columns:
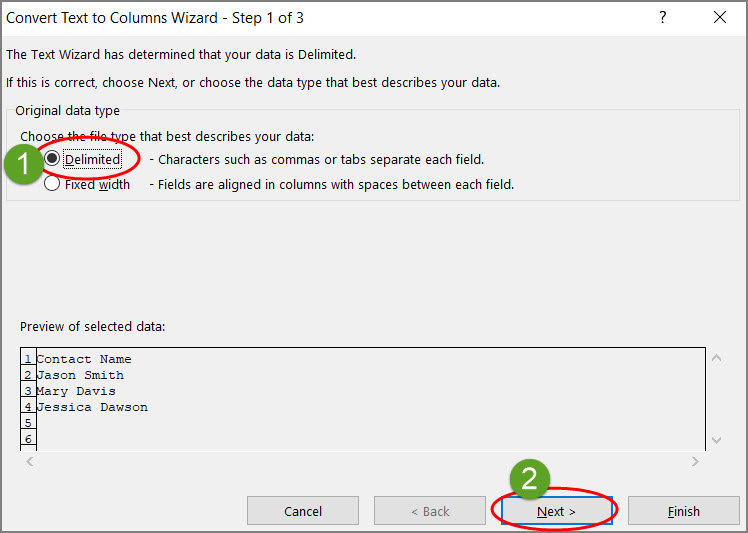
Step 1 of the Text to Columns Wizard:
- Select Delimited
- Click Next to go to Step 2
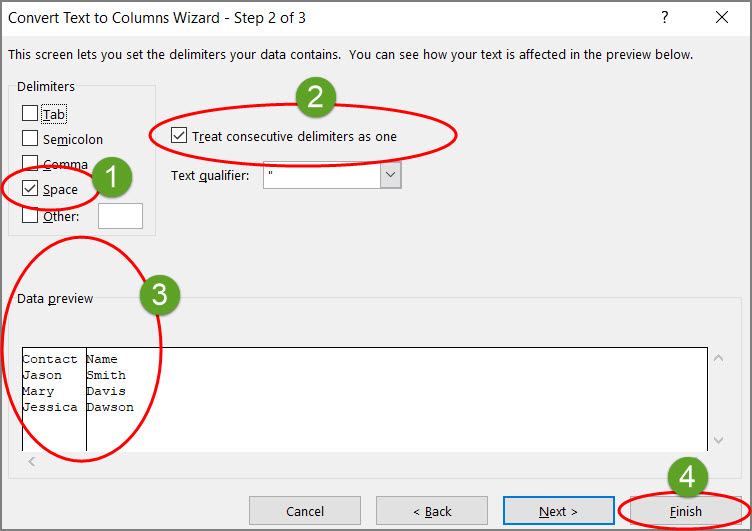
Step 2 of the Text to Columns Wizard:
- Select Space if a space separates first and last name
- Select Treat Consecutive Delimiters as One (Ex. Two spaces between names should be treated as one)
- View Data Preview to ensure that the name is split as desired
- Click Finish to complete the split, as Step 3 is not required in this case
Review the resulting columns in your spreadsheet to confirm accuracy of the split information.
